Best practices for propagating
Here are some tips for propagating your plants.
What is plant propagation?
Propagation is the process of reproducing plants from a single parent plant. There are a number of plant propagation techniques, including division, budding, and grafting, but cutting is the most popular because it presents the lowest risk to the parent plant. Propagation techniques help you create new plants that are already semi-mature, which means less waiting around for seeds to sprout.
Help, it's my first time propagating!
For your first time propagating, it’s best to choose a healthy, hardy, easy-to-grow plant with standard, developed roots that you’ve had for a while. This ensures that its roots are established in its pot and that the parent plant will have no adverse effects from being propagated.
Some types of houseplants are also easier to propagate than others. Pothos, philodendron, wandering Jew, and spider plants are the best options for your first attempt.
You'll need:
- a plant
- a small glass container (e.g. a vase or an old drinking glass)
- water
- clean, sharp scissors
- Find an area you'd like to cut. The best cuttings contain 2-3 leaves and are around 4-8" long. Make a diagonal cut just below the lowest node of your cutting.
- Fill your glass with water and place your cutting in it.
- After a week, roots should begin sprouting from your cutting. Keep the glass filled with enough water so the roots remain submerged.
- Once the root system has developed and there is at least one 4"-long root, you can pot your new plant. Keep your new plant in filtered or indirect light until it has new growth.
- Make sure to water your new plant heavily as it transitions from growing in water to growing in soil.
Propagation techniques for multi-stem and rhizome plants
Rhizeome plants (e.g. ZZ plant) have a tough, bulb-like root system. These types of plants are incredibly easy to propogate through division. Division is also a great plant propagation technique for houseplants with multiple stems.
You'll need:
- a plant
- a clean, sharp knife
- a planter or pot
- potting soil
- Start by removing your parent plant from its pot. Gently loosen the dirt from its roots until you can easily see their structure.
- Decide how you want to divide your plant and how many plants you want to get out of your division. For plants with a single rhizome, find where the stems meet the rhizome. Locate the halfway point, and use your knife to saw through the woody bulb.
- For plants with multiple rhizomes, choose a spot between the rhizomes (where it will be easier to cut) and follow the same process.
- For plants with multiple stems, gently untangle the roots until you are able to separate your plants. You may need to use a knife to cut through any knots, but note that the less damage you do to the roots, the better your outcome will be.
- Now, simply repot your new plant as per usual! You’ll also need to repot your parent plant, and unless it was rootbound, you’ll likely need to downsize its planter.
- Keep an eye on your new plants for their first few weeks. While they aren’t as unstable as new cuttings, they are still at risk for diseases and may be more sensitive to water and light as they heal their roots. Keeping a close eye on them will ensure they receive the proper care and attention and help you identify any pest problems early.
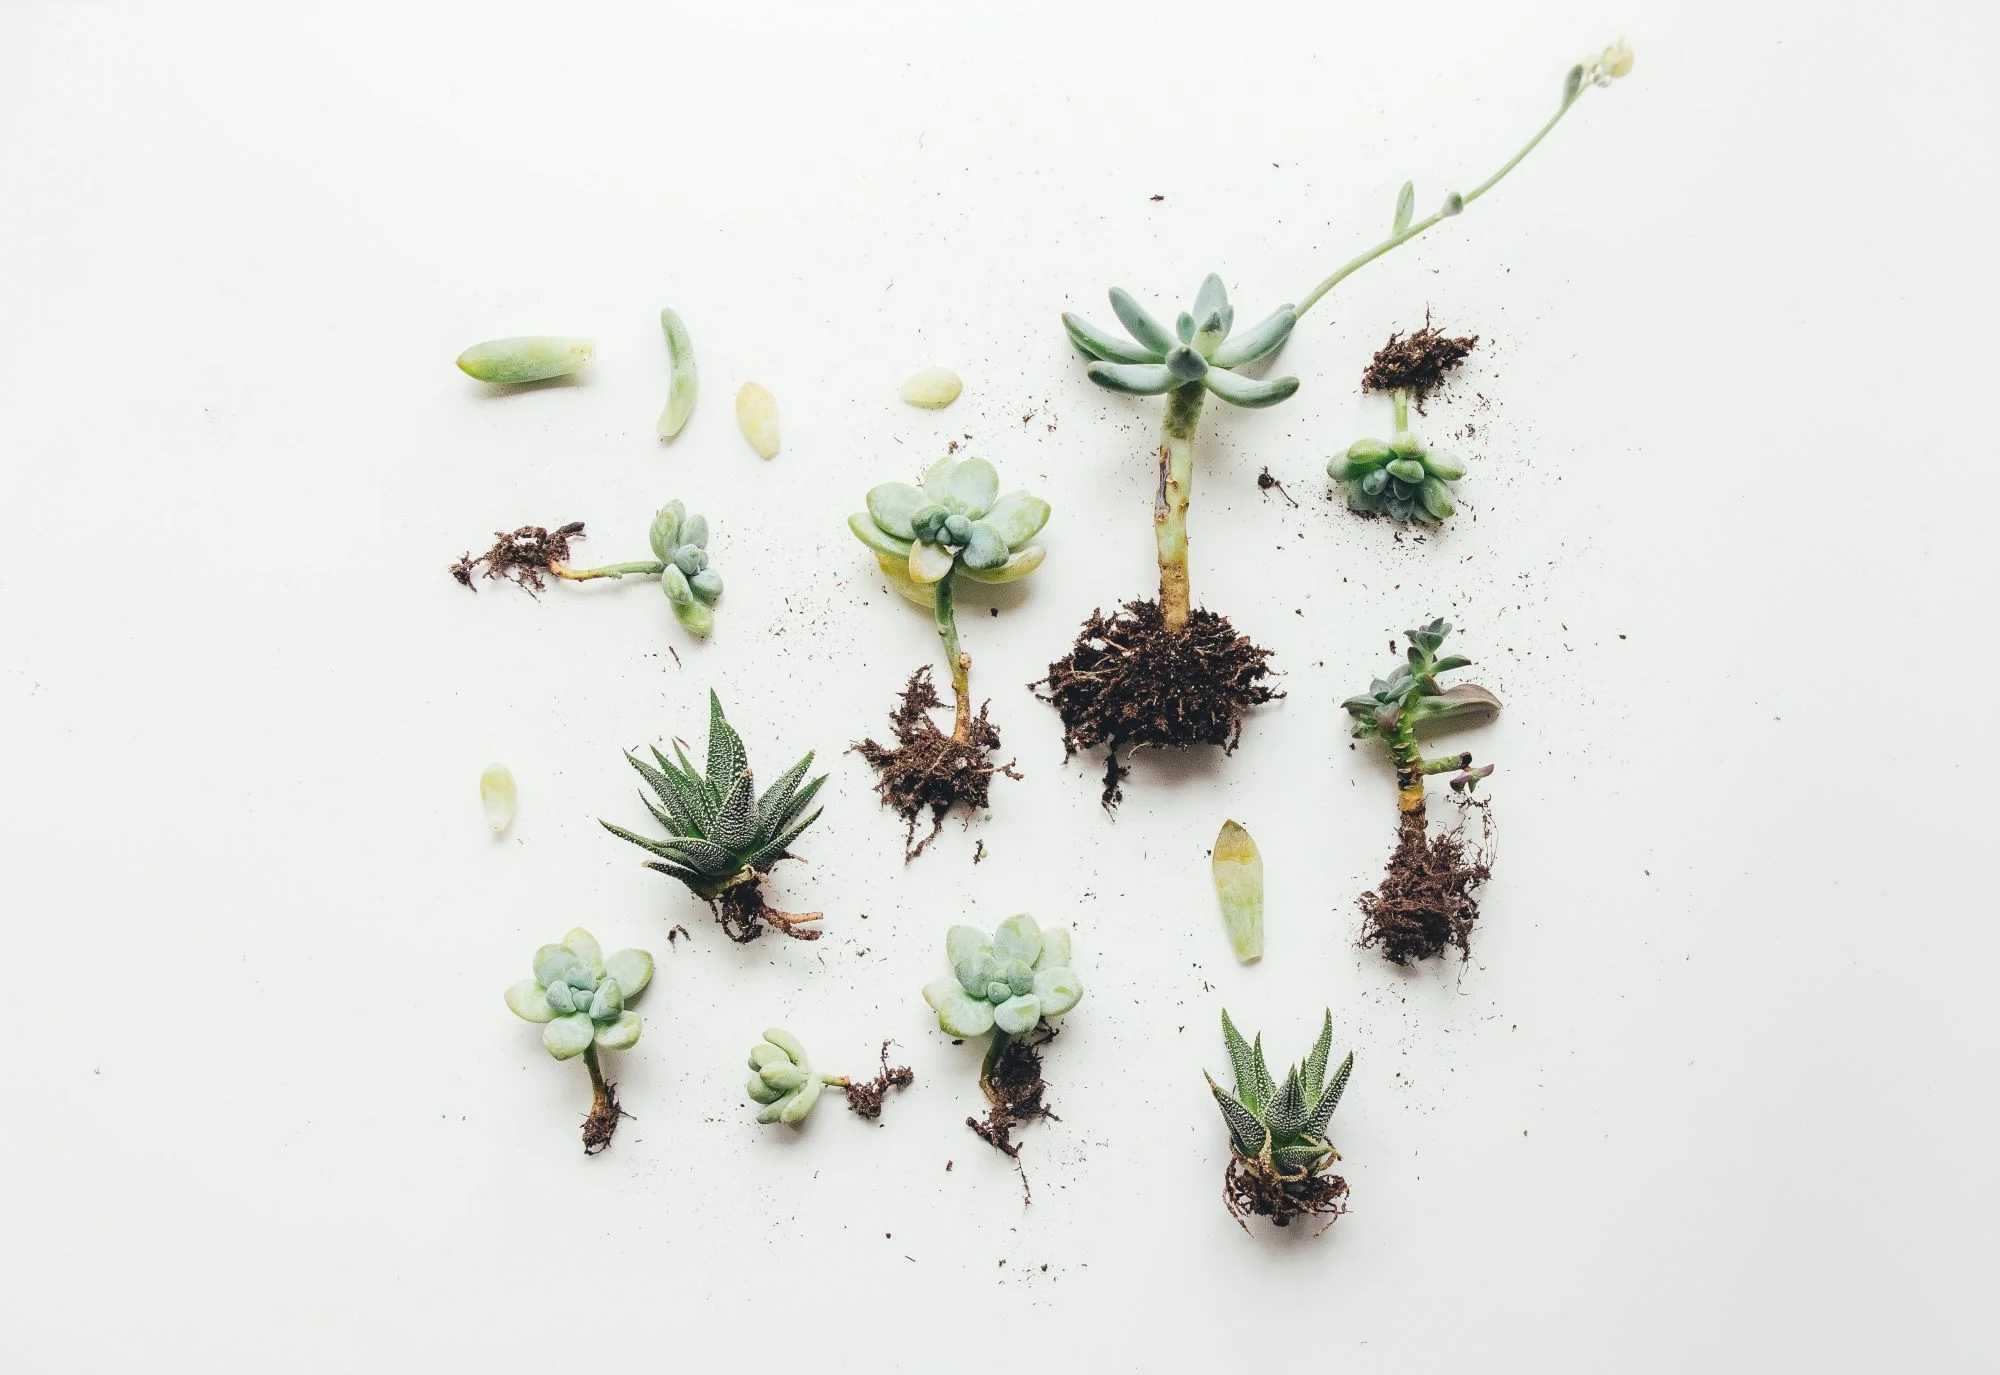
Propagation techniques for succulents and cacti
Succulents and cacti are incredibly easy to propogate and turn into more plants. The technique outlined below works best for succulents and cacti that have small, individual sections called "pads" or "pups" such as prickly pear cacti, hens and chicks, burro's tail, and string of pearls/dolphins/bananas.
You'll need:
- succulent/cacti potting soil
- a planter or pot
- sharp, clean scissors or knife
- Start by identifying the “pads” or “pups” on your plant. These are the separate leaves or segments that grow from the main stem or body of the plant. You’ll want to choose pads/pups that are established (medium-large), as they’ll have a better chance of survival than small segments that are newly grown.
- Gently twist and pull off the pups from the main plant. You want to be as gentle as possible so you don’t disturb the rest of the plant. Some plants are softer than others, so if you are struggling to remove the pup, you may need to use a knife or a pair of scissors. If you are working with a prickly cactus, you can also use tongs to remove the pad. It’s also essential that you remove the entire pup or pad without breaking it in the middle. The nodes at the base of the leaves are essential for root development.
- Place your pads/pups on a paper towel or a piece of cardboard and allow them to callus over in indirect, medium light for a few days. This prevents them from taking up too much water and drowning.
- Once they’ve callused over, it’s time to move your plants to their new homes. Fill your pots nearly all the way with succulent/cacti potting soil, then lay your pads or pups on top. The ends of the leaves don’t need to be touching the soil, simply laying on top of it.
- Over the next few weeks, keep the soil moist but not too wet. We recommend a small amount of water every day or every other day for optimal moisture. Within a few weeks, you’ll notice roots and new leaves beginning to form. Don’t worry if your original leaf begins to shrivel – it is providing nutrients to the new plant to help it develop leaves and roots.
- Once your new plants have grown roots, you can plant them in their pots. Slow your daily watering as you approach planting day, and be sure that your potting mix is well-drained when you plant your new plants. Your new plants should take root and continue to grow over the next few weeks.